
Today, Mr. Isaac Connor has published the first successful Zoneminder-master-eoan package for Ubuntu 19.10. in his website .
Installation of Zoneminder To install Zoneminder Please refer Connor’s web site Open the terminal and run following commands.
sudo su

add-apt-repository ppa:iconnor/zoneminder-master

apt install zoneminder
rm /etc/mysql/my.cnf

cp /etc/mysql/mysql.conf.d/mysqld.cnf /etc/mysql/my.cnf

sed -i "15i default_authentication_plugin= mysql_native_password" /etc/mysql/my.cnf

/etc/init.d/mysql start
mysql -uroot -p < /usr/share/zoneminder/db/zm_create.sqlmysql CREATE USER 'zmuser'@localhost IDENTIFIED WITH mysql_native_password BY 'zmpass'; GRANT ALL PRIVILEGES ON zm.* TO 'zmuser'@'localhost' WITH GRANT OPTION; FLUSH PRIVILEGES ; quit
mysqladmin -uroot -p reload

chmod 740 /etc/zm/zm.conf

chown root:www-data /etc/zm/zm.conf

adduser www-data video

a2enmod cgi

a2enconf zoneminder

a2enmod rewrite

chown -R www-data:www-data /usr/share/zoneminder/

systemctl enable zoneminder

service zoneminder start

service apache2 reload
Open zoneminder web console (http://localhost/zm/)
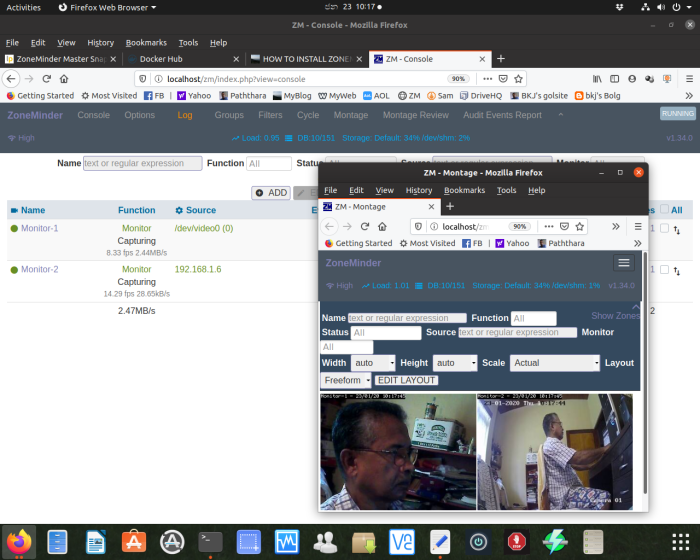
Figure :- Montage of 2 cameras after adding USB Cam & IP Cam
You can see the USB camera and a Hikvision IP camera are working in the above figure
Note:- If there is a user in the same name , you will get an error ( ERROR 1396 (HY000)) ,when creating mysql user with “CREATE USER” . In that case please replace “CREATE USER” with “ALTER USER” .
If you get “MySQL: “Access denied for user ‘debian-sys-maint’@’localhost’”” when updating zoneminder , you can correct it by making following changes.
On the Ubuntu terminal
sudo gedit /etc/mysql/debian.cnf
Then you can see the automatically generated debian password for mysql
as follows in the opened “debian.cnf” file
( In your case , you may get a different password)
# Automatically generated for Debian scripts. DO NOT TOUCH!
[client]
host = localhost
user = debian-sys-maint
password =
socket = /var/run/mysqld/mysqld.sock
[mysql_upgrade]
host = localhost
user = debian-sys-maint
password =
socket = /var/run/mysqld/mysqld.sock
[client]
host = localhost
user = debian-sys-maint
password =
s4bSHUP05s1J32G5socket = /var/run/mysqld/mysqld.sock
[mysql_upgrade]
host = localhost
user = debian-sys-maint
password =
s4bSHUP05s1J32G5socket = /var/run/mysqld/mysqld.sock
Now you will have to grant permissions to ‘debian-sys-maint’@’localhost’” as follows
sudo su

mysql
ALTER USER 'debian-sys-maint'@localhost IDENTIFIED WITH mysql_native_password BY 's4abSHUP05s1J32G5';GRANT ALL PRIVILEGES ON *.* TO 'debian-sys-maint'@'localhost' WITHGRANT OPTION; quit sudo /etc/init.d/mysql restart


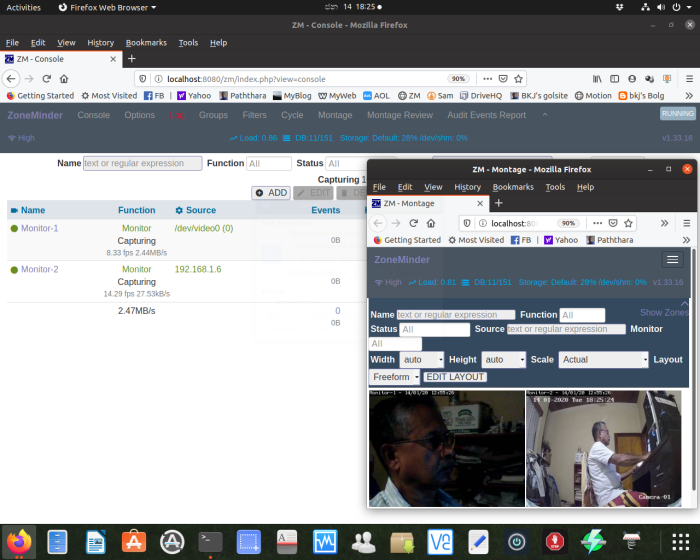


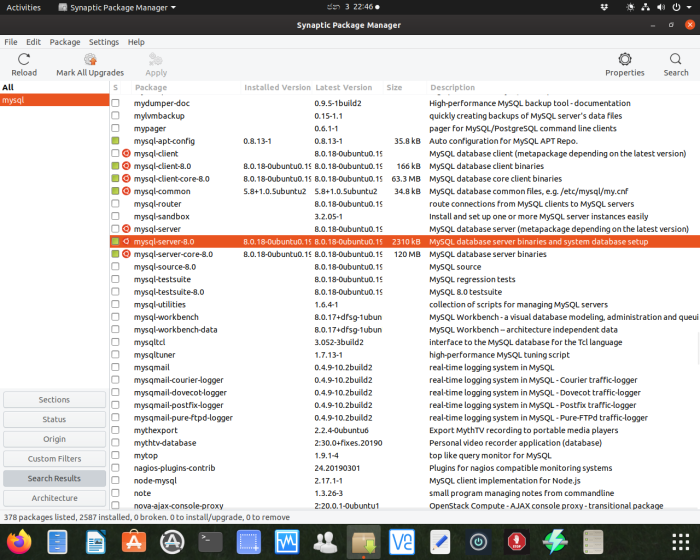


 Figure:-5 Zoneminder Console , after adding an Usb camera
(Note :-
In order to have clean mysql-server-8.0 install , it is better to completely delete exiting mysql as follows
sudo apt remove --purge mysql-server mysql-client mysql-common
sudo apt autoremove
sudo apt autoclean
sudo rm -rf /etc/mysql )
Figure:-5 Zoneminder Console , after adding an Usb camera
(Note :-
In order to have clean mysql-server-8.0 install , it is better to completely delete exiting mysql as follows
sudo apt remove --purge mysql-server mysql-client mysql-common
sudo apt autoremove
sudo apt autoclean
sudo rm -rf /etc/mysql )
